Your first month, step by step
From an empty workspace to everyone's first statement in five steps, with what to click at each one.
This walks you through one whole month, from setup to statements. It takes about fifteen minutes the first time. After that, each month is mostly steps 4 and 5.
The Get set up list on Overview follows the same steps and ticks them off as you go.
1. Add the people you pay
- Open Collaborators and choose Add collaborator.
- Enter their name. Add an email address if they should get statements by email.
- Repeat for everyone who gets a share.
They don't need an account. You don't need to add yourself: the house share is the workspace's own.
2. Add a project
- Open Projects and choose New project.
- Name it after the game, book, zine or album.
New projects split on net: shares are worked out after store fees. To split on the full price instead, change it in the project's Settings tab.
One project per title. A game and its soundtrack can be one project or two; make two if different people share in them.
3. Set the split
- Open the project and go to its Splits tab.
- Choose Add rule, pick a collaborator and give them a share, like 40%.
- Repeat for each person, then choose Save rules. Whatever is left goes to the house.
A rule can also apply to one store only, or start and end on set dates. Advances that are paid back first go under the Advances tab. See Splits and recoup.
4. Import the month's sales
- Download the month's sales from each store. Which file to export from each store has the steps.
- Open Import sales and drop the file.
- Check the rows look right: the dates, the number of sales and the totals.
- Pick a project for each product. If they all belong to one project, use All for one project? to do them in one go.
- Choose the Import button at the bottom. It finishes in the background; you can leave the page.
Do this once per store. Splitfold remembers your products, so next month's file maps itself.
Tip
Selling on Stripe, Shopify, Steam or Gumroad? Connect the store and its sales come in by themselves.
5. Close the month
Wait until the month is over and every store has its sales in.
- Open Statements. The Before closing list shows anything still missing, like a product without a project.
- Choose Close month. Each collaborator gets a statement, by email if you added their address.
- When you've sent someone their money, open their statement and choose Mark paid. Splitfold doesn't send money for you.
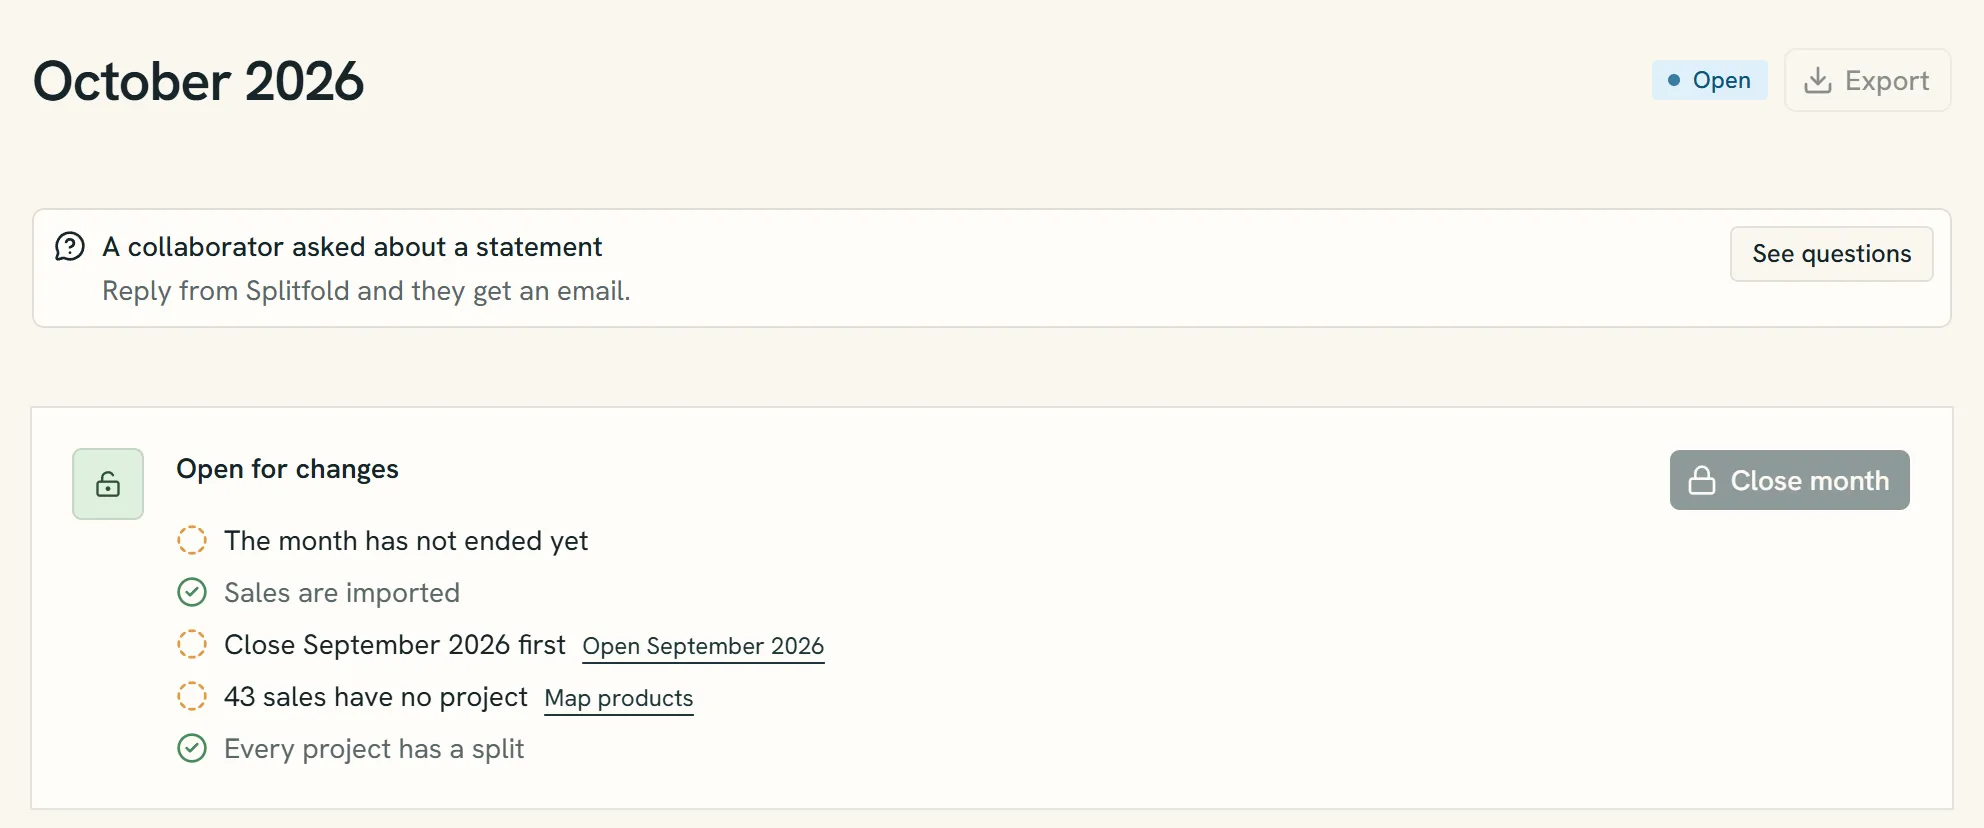
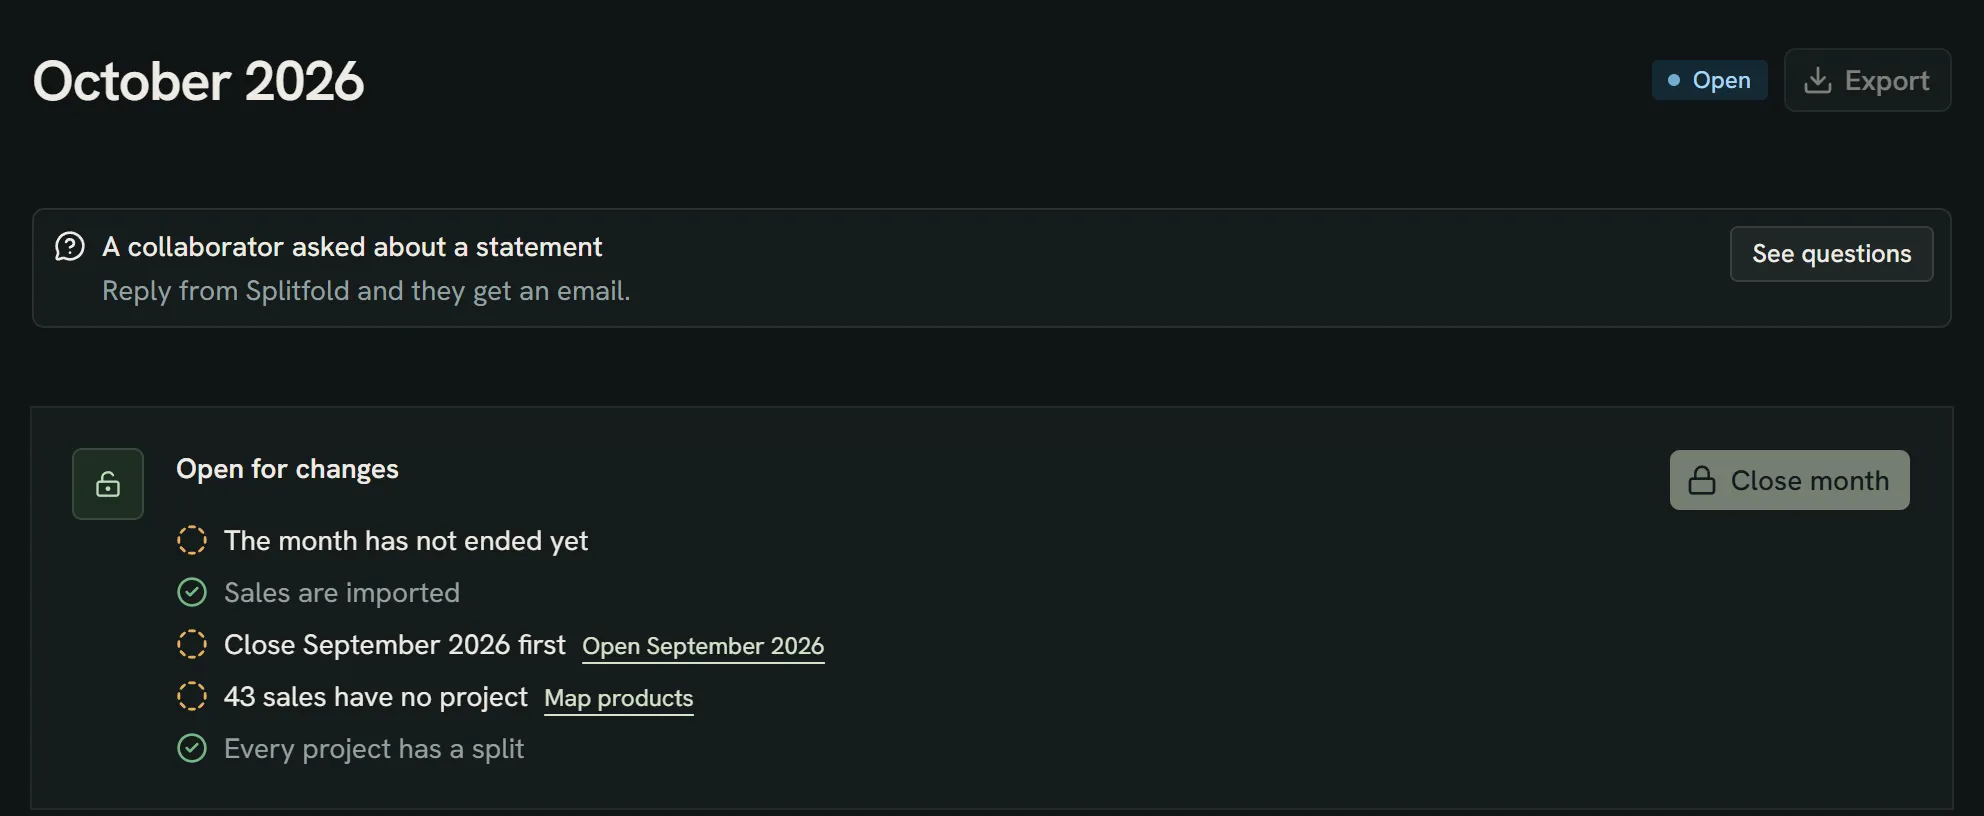
- The month is Open: its numbers can still change.
- The checklist. Every line needs a tick before the month can close.
- Links take you straight to what's missing, like products without a project.
- Close month turns on once every line is ticked. Only owners see it.
A closed month never changes. If a sale turns up late, import it anyway: it lands in the next open month. See Closing a month.
Every month after
- Import each store's sales for the month.
- Map any new products.
- Close the month and mark people paid.
Still have a question?
We reply by email.